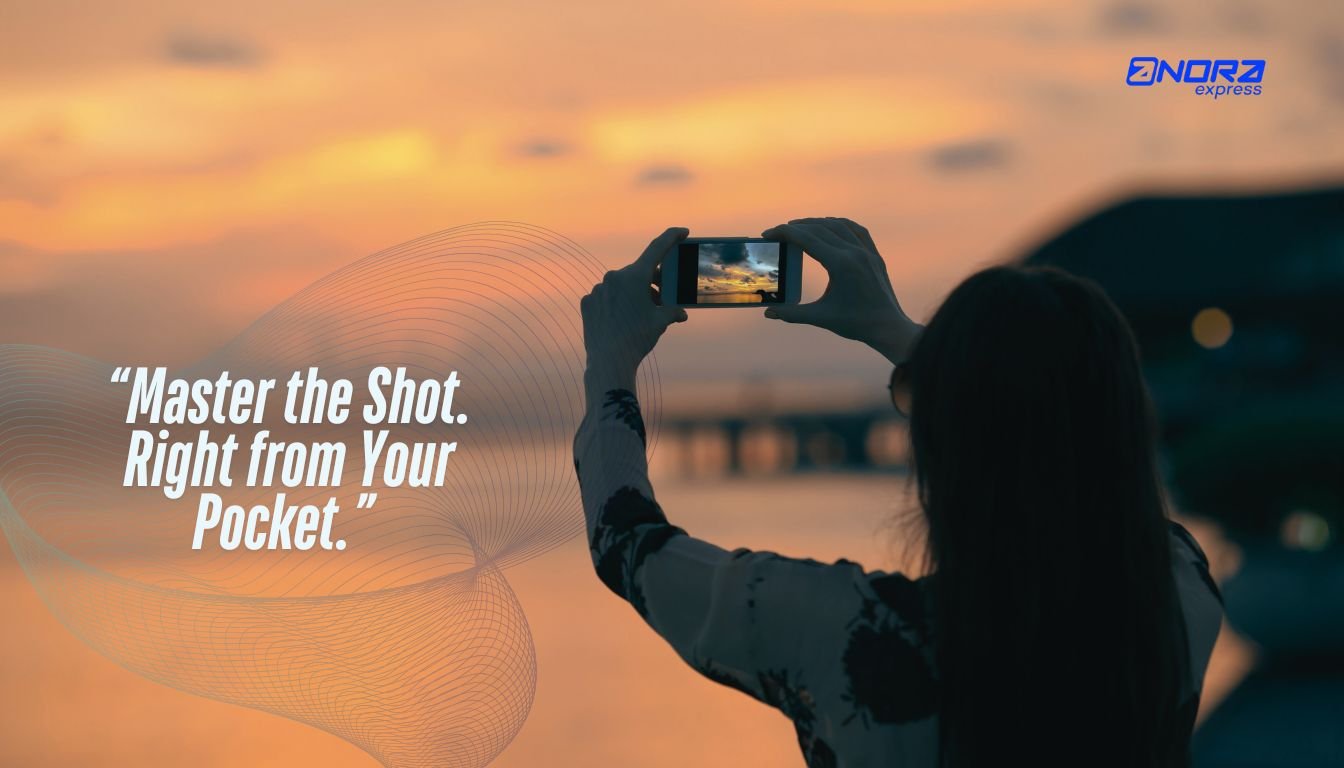
Smartphones have transformed the world of photography, making it accessible to everyone. You no longer need an expensive DSLR (digital single-lens reflex camera) to capture stunning images. With the right techniques and a touch of creativity, your smartphone can become a powerful tool for photography, always at your fingertips. In this guide, Anora Express will walk you through the basics of smartphone photography, helping you take your shots from ordinary to extraordinary.
Understanding Your Smartphone Camera
Before diving into photography, it’s crucial to understand the capabilities of your smartphone camera:
Megapixels: Higher megapixels offer more detail, which is ideal for cropping or printing.
Aperture: A lower f-stop number (e.g., f/1.8) allows more light, perfect for low-light conditions.
Lens Types: Modern smartphones come with various lenses, such as wide-angle, telephoto, and macro. Experiment with each to achieve different effects.
Pro Tip: Tap to focus on your screen and adjust the exposure by sliding your finger. This simple trick can significantly improve your photos.
Mastering Composition
Great photos are about more than just clarity; they tell a story. Here are some composition techniques to enhance your photography:
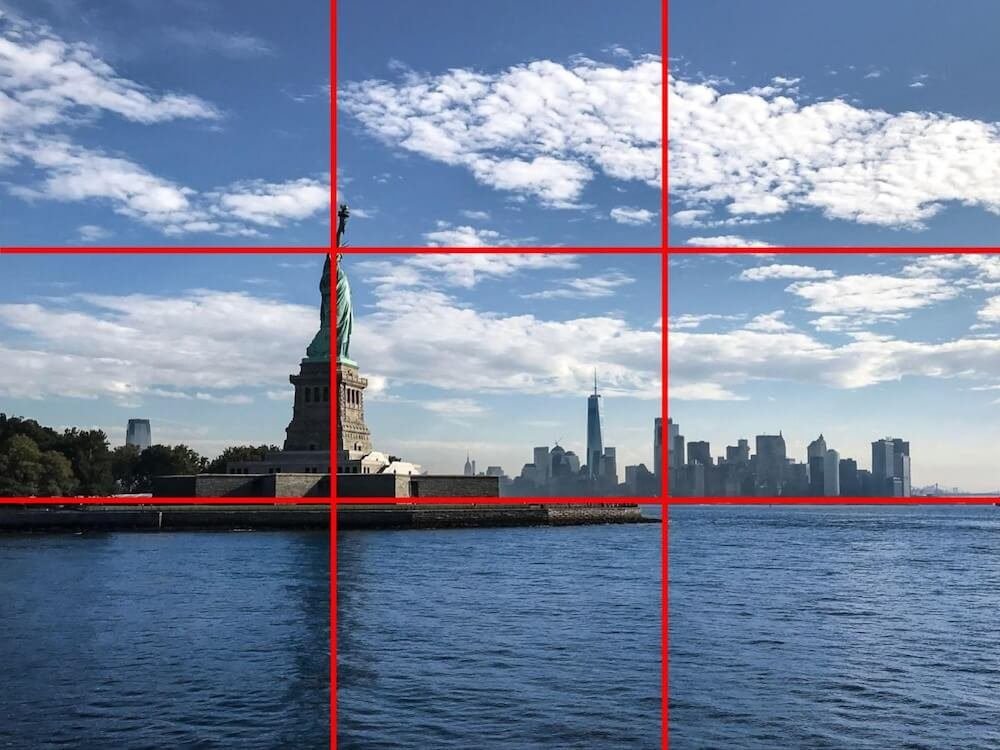
Rule of Thirds: Enable grid lines in your camera settings and place key subjects along these lines for a balanced and engaging composition.
Leading Lines: Use elements like roads or fences to draw the viewer’s eye towards your subject.
Natural Framing: Utilize windows, arches, or foliage to frame your subject and add depth to your images.
Lighting: The Key to Great Photography
Lighting can make or break your photos. Here are some tips to use light effectively:
Golden Hour: Shoot during sunrise or sunset for soft, warm lighting.
Avoid Harsh Midday Sun: It can create unflattering shadows and overexposure.
Use Reflectors or Diffusers: Tools or even a white sheet can help bounce and soften light.
Smartphone Tip: Manually adjust the exposure in bright or backlit scenes to achieve balanced results.
Exploring Camera Modes and Settings
Familiarize yourself with the various modes your smartphone camera offers:
Portrait Mode: Creates a blurred background effect, similar to a DSLR.
HDR Mode: Captures details in both shadows and highlights.
Night Mode: Enhances photos taken in low-light conditions.
Manual/Pro Mode: Allows you to adjust settings like ISO, shutter speed, and white balance.
Avoid using digital zoom; instead, move closer to your subject or crop the image during editing to maintain quality.
Top Photography Apps for Smartphone Users
Enhance your photos with these powerful apps:
Snapseed: Offers advanced tools for color correction, cropping, and retouching with non-destructive editing.
VSCO: Known for its stylish, film-like filters, perfect for creating mood-heavy visuals.
Adobe Lightroom Mobile: Provides RAW shooting, pro-level controls, and seamless desktop integration.
ProCamera (iOS): Ideal for serious photographers, featuring manual focus, anti-shake, and support for external accessories.
Essential Smartphone Photography Accessories
Consider investing in these accessories to elevate your photography:
Clip-on lenses (macro, fisheye, wide-angle)
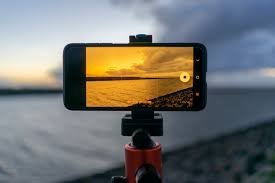
Tripods for stability and long exposure shots
Remote shutters for shake-free selfies
LED lights for better illumination
Gimbals for smooth video footage
External battery packs to ensure you never miss a shot
Editing Like a Pro on Your Phone
You don’t need Photoshop to make your photos stand out. Follow this basic editing workflow:
Open your editing app (Snapseed, Lightroom, etc.).
Adjust exposure, contrast, highlights, and shadows.
Fine-tune color temperature and saturation.
Use sharpening tools sparingly.
Apply filters or presets for a consistent style.
Crop and straighten if necessary.
Export or share directly to social media.
Pro Tip: Use selective adjustments to brighten faces or darken backgrounds for a more professional look.
The Advantages of Smartphone Photography
Smartphones are convenient, lightweight, and discreet, making them perfect for candid shots, street photography, or travel. They are also great for daily practice and capturing spontaneous moments.
DSLR vs. Smartphone?
While DSLRs offer more manual control and higher dynamic range, smartphones are catching up quickly. They may lack some hardware features, but they make up for it in accessibility and innovation.
Practice Makes Perfect
Photography is a skill that improves with practice. Here are some tips to help you grow:
Shoot every day to build your skills.
Find inspiration online by following photographers on platforms like Instagram or Pinterest.
Review your work to see what worked and what didn’t.
Don’t worry if every shot isn’t perfect. Each photo is a step in your journey to becoming a better photographer.
Final Thoughts from Anora Express
Mastering the basics of smartphone photography (smartphone photography basics) is easier than ever. By understanding your device, composing shots creatively, using light effectively, and editing with purpose, you can capture images that tell a story and stand out.
So grab your phone, step outside, and start exploring the world through your lens. Happy shooting! 📷
To provide the best experiences, we use technologies like cookies to store and/or access device information. Consenting to these technologies will allow us to process data such as browsing behavior or unique IDs on this site. Not consenting or withdrawing consent, may adversely affect certain features and functions.
Functional
Always active
The technical storage or access is strictly necessary for the legitimate purpose of enabling the use of a specific service explicitly requested by the subscriber or user, or for the sole purpose of carrying out the transmission of a communication over an electronic communications network.
Preferences
The technical storage or access is necessary for the legitimate purpose of storing preferences that are not requested by the subscriber or user.
Statistics
The technical storage or access that is used exclusively for statistical purposes.The technical storage or access that is used exclusively for anonymous statistical purposes. Without a subpoena, voluntary compliance on the part of your Internet Service Provider, or additional records from a third party, information stored or retrieved for this purpose alone cannot usually be used to identify you.
Marketing
The technical storage or access is required to create user profiles to send advertising, or to track the user on a website or across several websites for similar marketing purposes.